
How to Repair a Tear in Your Companion Doll
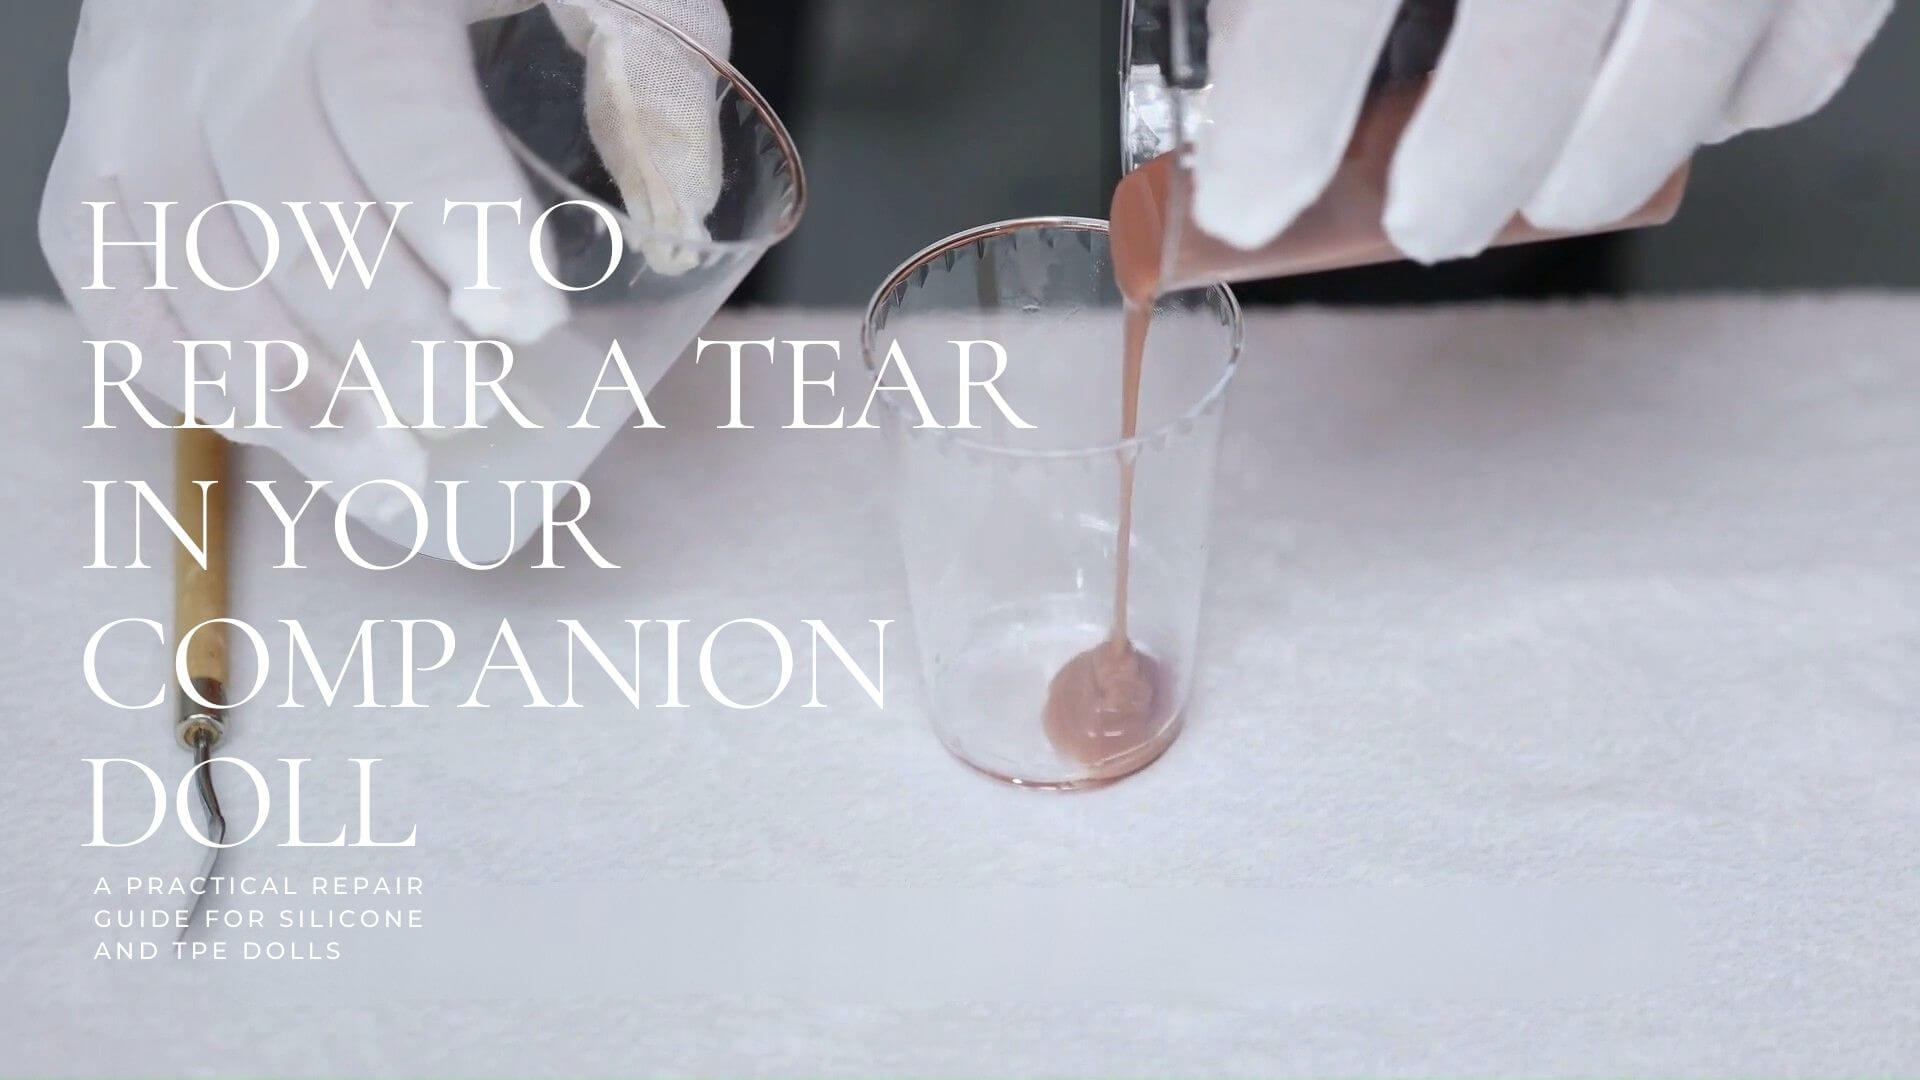
A Practical Repair Guide for Silicone and TPE Dolls
Tears and surface damage are among the most common forms of wear in long-term companion doll ownership. While no repair can fully restore a doll to its original, factory-molded condition, many tears can be stabilized, reinforced, and visually improved when handled correctly.
This guide focuses specifically on repairing tears in both silicone and TPE companion dolls. It does not attempt to replace professional restoration services, nor does it promise invisible results. Instead, it aims to help owners understand what is realistically repairable, how repairs differ by material, and what precautions matter most.
Before You Begin: Set Realistic Expectations
Not all materials respond to repair in the same way.
Silicone repairs involve material-level curing and integration. When done correctly, results are generally more stable and visually refined.
TPE repairs rely primarily on physical adhesion or surface stabilization. Durability and appearance are more limited and less predictable.
In both cases:
- Repaired areas will remain structurally weaker than original molded sections
- Repairs are best viewed as damage containment, not full restoration
- Proper technique and restraint matter more than speed
Common Causes of Tears
Understanding why tears occur helps prevent repeat damage after repair.
- Repeated stress at joints, openings, or thin areas
- Improper lifting or dragging
- Sharp fingernails, jewelry, or hard accessories
- Dryness, material fatigue, or aging
- Incorrect storage positions
Repairing a tear without addressing its cause often leads to re-tearing.
Tools and Materials
For Silicone Dolls
- Silicone repair compound or silicone adhesive kit (same base type as the doll)
- Catalyst / curing agent (if required)
- Mixing tools and disposable gloves
- Isopropyl alcohol (for cleaning)
- Soft spatula or applicator
- Fine sandpaper (optional, for finishing)
- Color pigments (optional)
For TPE Dolls
- TPE-compatible adhesive (limited availability; results vary)
- Heat source with precise control (optional, advanced users only)
- Cleaning alcohol
- Non-stick tools
- Clamps or gentle pressure supports
⚠️ Do not use random household glues. Many adhesives are incompatible with TPE or silicone and may cause further degradation or health risks.
Step-by-Step Repair: Silicone Dolls
1. Clean and Prepare the Area
- Gently clean the damaged area with isopropyl alcohol
- Ensure the surface is dry and free of oils or powder
- Slightly open the tear so the repair material can reach inside
2. Mix the Repair Compound
- Follow manufacturer ratios precisely
- Mix slowly to avoid air bubbles
- Only prepare what you can apply within the working time
3. Apply the Silicone Repair Material
- Fill the tear from the inside outward
- Avoid overfilling; excess material complicates finishing
- Smooth the surface gently
4. Allow Full Curing
- Do not touch or move the area during curing
- Curing time varies from hours to a full day
- Temperature and humidity affect results
5. Finish and Blend (Optional)
- Light sanding can reduce visible edges
- Pigment touch-ups may improve color matching
- Avoid aggressive abrasion
Result Expectation:
The repaired area becomes part of a newly cured silicone structure. Elasticity and strength improve significantly, though the area should still be treated with care.
Step-by-Step Repair: TPE Dolls
1. Clean Thoroughly
- Remove oils, powders, and residue
- Let the area dry completely
2. Align the Tear
- Gently bring torn edges together
- Avoid stretching or enlarging the damage
3. Apply Adhesive or Heat-Assisted Bonding
- Use only TPE-intended products
- Apply minimal adhesive
- Maintain light pressure while curing or cooling
4. Stabilize During Setting
- Keep the area immobile
- Avoid handling for the full recommended time
Result Expectation:
The repair stabilizes the tear but does not restore original material continuity. Visual marks are common, and long-term durability is limited.
⚠ Critical Safety and Care Warnings
- Never overheat TPE — uncontrolled heat can deform or degrade material
- Avoid toxic fumes from overheating or incompatible chemicals
- Repaired areas should not bear stress, weight, or repeated friction
- Always test repair materials on a hidden area first
When Not to Repair
DIY repair is not recommended if:
- The tear is deep and structural
- Internal skeleton or frame is exposed
- Damage is located at a high-stress joint
- The material has become brittle or degraded
In such cases, professional assessment or controlled retirement may be the safer option.
Long-Term Prevention After Repair
- Adjust storage positions to reduce stress
- Use proper support during movement
- Maintain surface hydration where appropriate
- Inspect repaired areas regularly
Repair extends usability, but prevention extends lifespan.
Final Notes
Repairing a tear is not about making damage disappear. It is about preserving function, safety, and dignity of ownership.
Silicone repairs offer greater structural integration.
TPE repairs offer temporary stabilization.
Understanding this difference allows owners to make informed decisions, avoid unnecessary risks, and maintain a healthier long-term relationship with their companion doll. For more maintenance tips, please check our Maintenance Guide.

BreathyDoll Team
Entity: BreathyDoll
Date : December 25, 2025